You think curling iron hairstyles are outdated? Think again. We will show you 5 completely different DIY hairstyles using just a curling iron, and that, hopefully, will change your opinion.
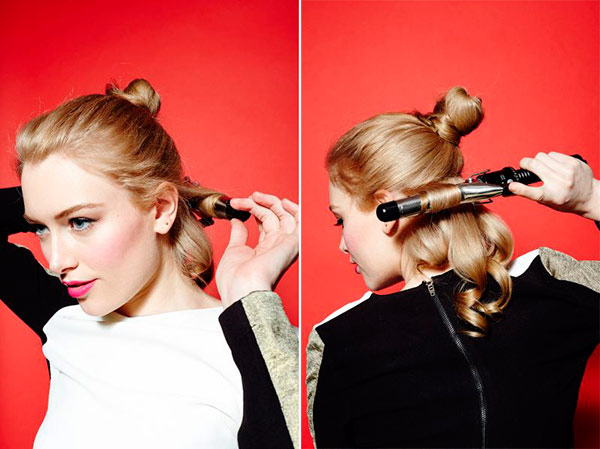
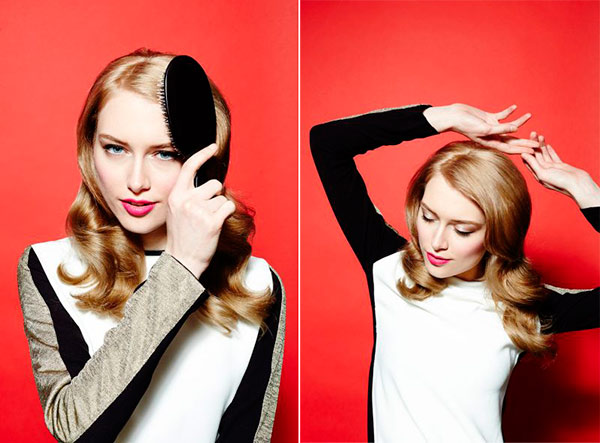
That 40’s Look
Have you ever wondered how Deanna Durbin managed to make her hair look so amazingly gorgeous with big wavy curls? If Deanna achieved the astonishing result more than 50 years ago, we sure can get the same look today, can’t we? To get the 40’s look, we should start by separating our hair horizontally into 2 unequal parts (the hair on top must be two times more). Pin down the upper part of the hair. Holding the curling iron horizontally, try to curl the lower part of the hair. Unfasten the rest of the hair, and using a paddle brush, mingle it together.

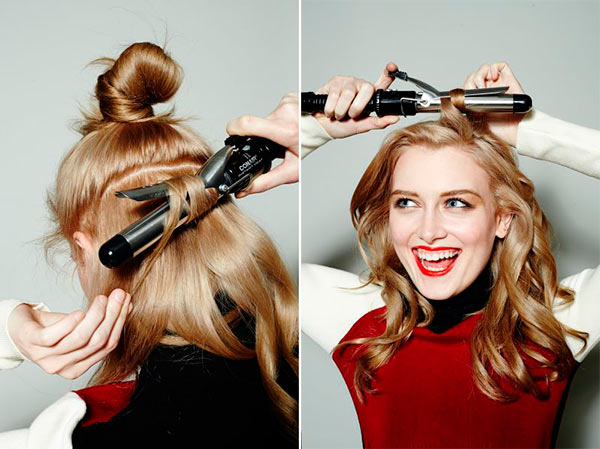
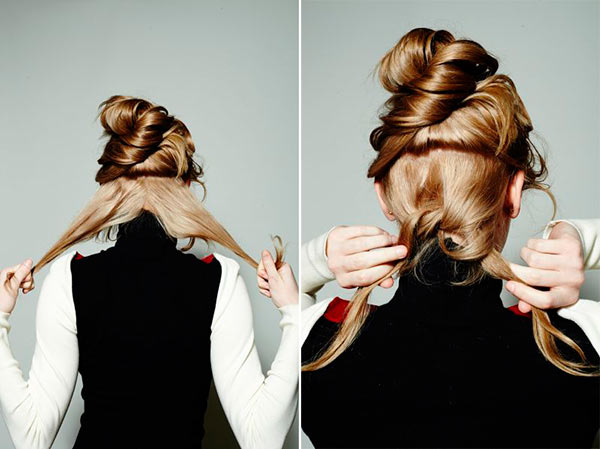
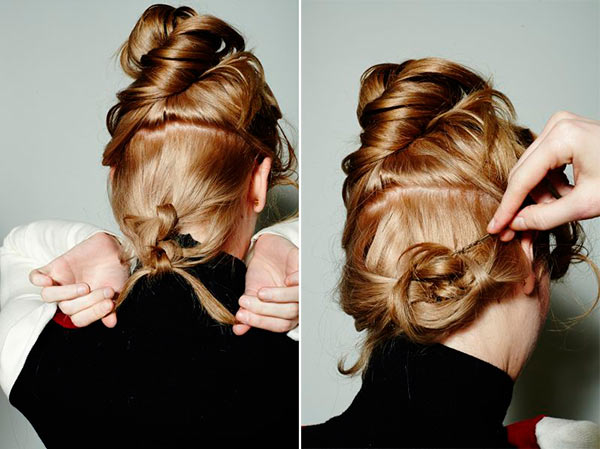
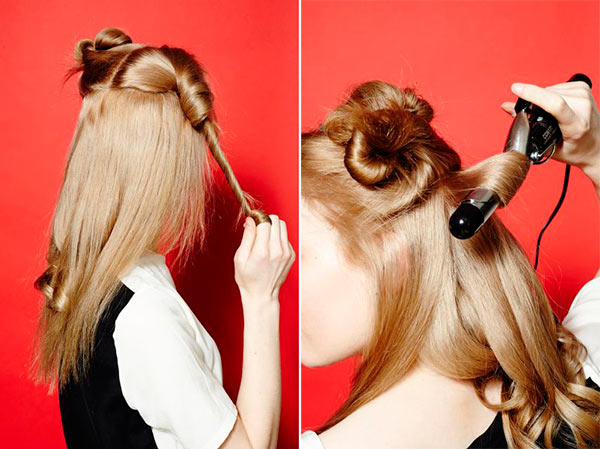
Messy Knots
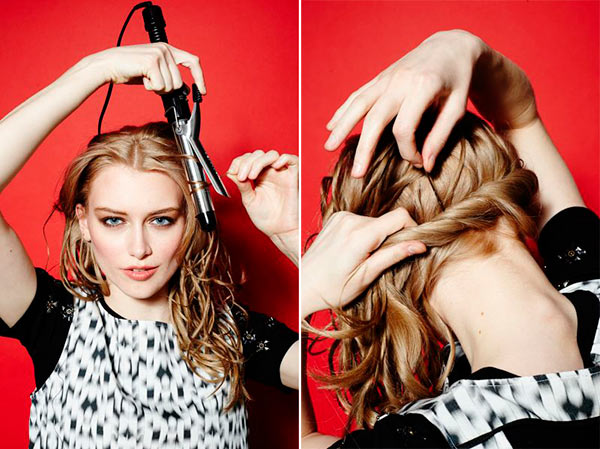
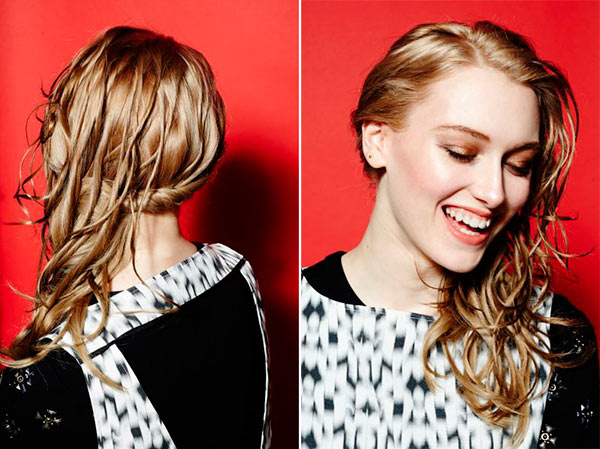
Back to present now. To get this hairstyle, start by curling the hair closer to the nape of your neck. Wrap a small section of hair around the base of the iron, close the clamp and continue wrapping the rest of the hair over the clamp. To get bigger curls, leave the clamp open. The hair that was left under the nape of your neck divide into 2 parts. Tie them together into a knot, than into a second one and so on. Reaching the end of your hair, roll up the braid with knots and pin it down. Continue knotting small strands of your hair until you cover the back of your head with knots. Now take the left section of the front of your hair and tie it into knots as well, leaving the hair on the right side out. A little bizarre but attractive!
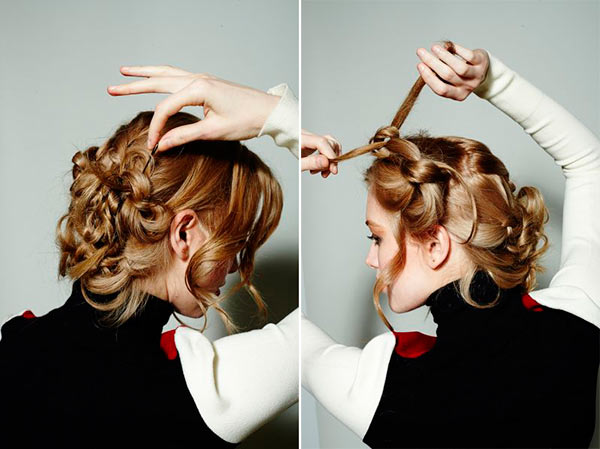
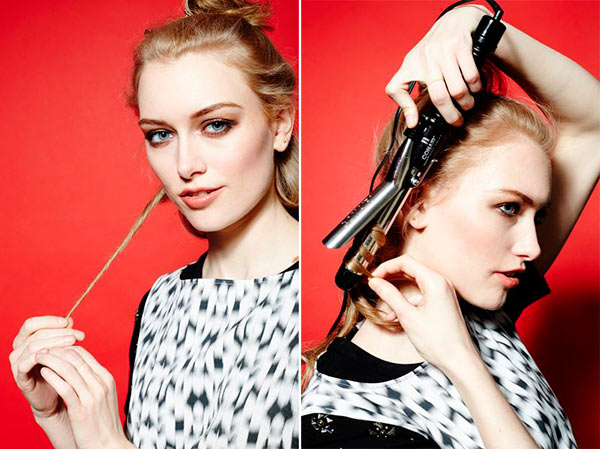
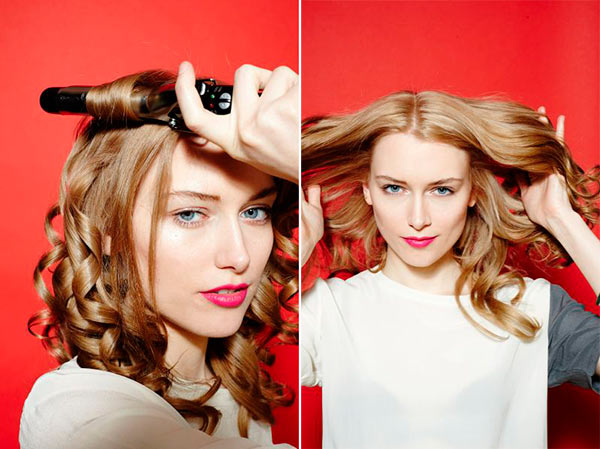
Twisted Curls
Looking at this hairstyle we may feel that separate attention has been given to every single strand of hair. To achieve twisted curls start by twisting a small section of hair. Holding the iron vertically, curl the twisted hair. When you’ve twisted and curled all of your hair, start twisting the back of your hair along the nape of your neck pinning it behind the rest of the hair.
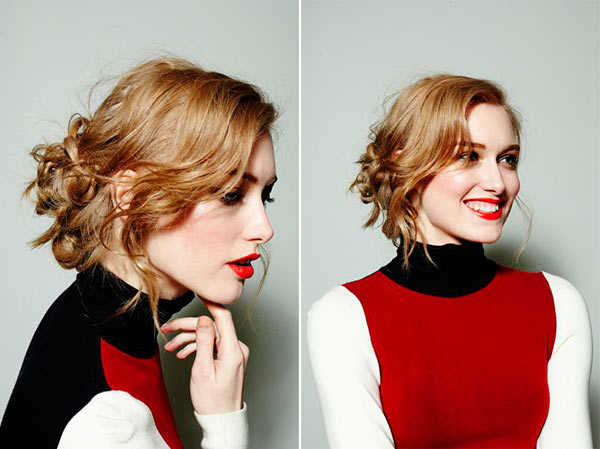
Rumpled Waves
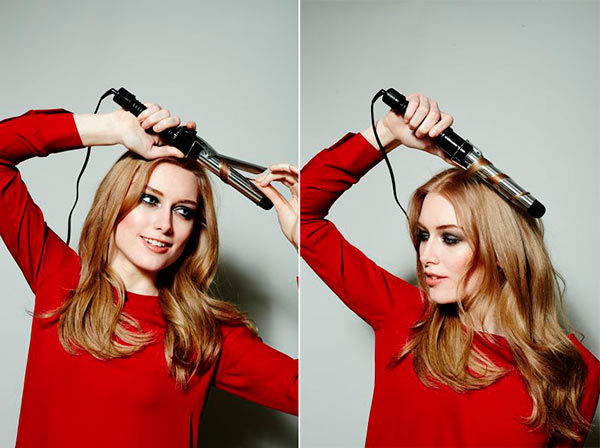
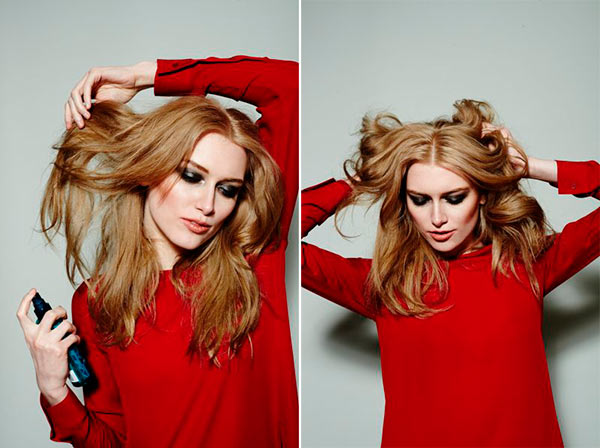
Beginning with front layers of your hair, curl it leaving them on barrel of curling iron for 2-3 seconds, as we don’t want to make the hair very curly. Our aim is to get smooth waves. Spray the hair with salt spray and scrunch it to get a bigger volume and rumpled look.
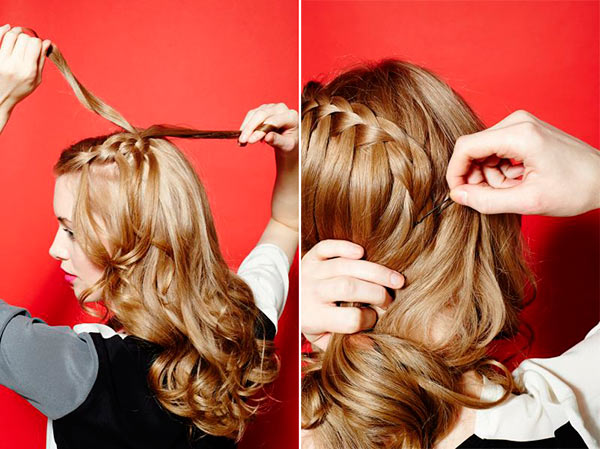
Braided Cascade of Curls
Curly and sophisticated! Yes. Difficult to get? No. Can you do it yourself? Yes. So how do we get the cascading curly hair we want? Again start off by horizontally dividing the hair into 2 parts. Start curling the lower half of the hair. Try to leave the hair or barrel a little longer (up to 10 seconds) because you want your hair curly, not wavy. Start curling the upper layers as well. Now you have perfect curls. Wait, what about the “braided” part? Be patient, we’re getting there. Take some strands of hair from the front of your head and start interweaving them in a French braid. To give your hair an impression of cascade or waterfall, let one of the sections of hair fall down before picking up a new section of hair by your part. When the braid reaches the back of your head, pin them down.

Photos: refinery29.com
See Also: Gorgeous Hairstyles to Wear Under a Hat
Leave A Comment